Setting Up a Meta Quest Headset: First Steps, Boundary and Account Basics
A step-by-step first setup for Meta Quest 3 and 3S: the Meta Horizon app, controllers, fit and lenses, drawing a boundary, first installs and casting.
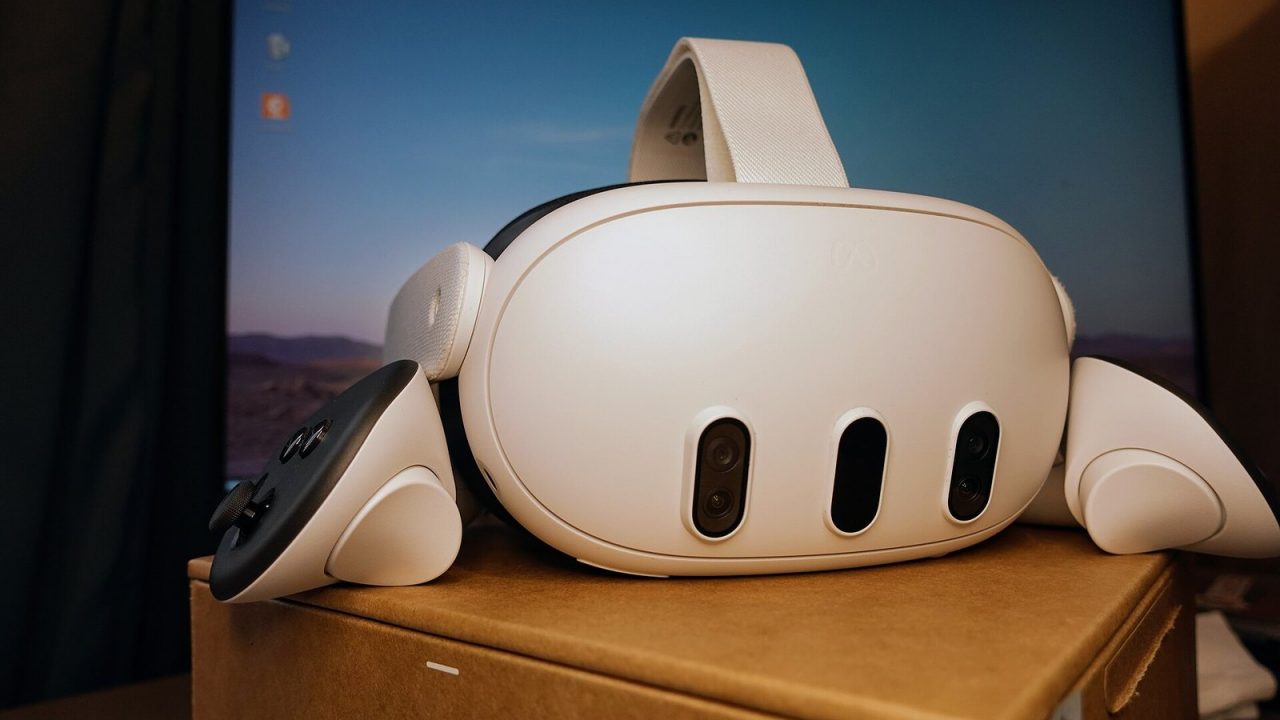
Unboxing a Meta Quest is quick; setting it up well takes a little longer. The headset will walk you through the essentials on its own, but several of the choices it asks you to make in the first half hour, such as how the strap sits, where the lenses are set and how big your play area is, decide whether VR feels sharp and comfortable or blurry and awkward.
This guide follows the setup flow Meta describes on its support pages for the Quest 3 and Quest 3S as of 2026, and adds context for each step so you know why it matters. Menu names occasionally change with software updates, so if a label looks slightly different on your headset, the underlying step is usually the same.
Before you start: what you need
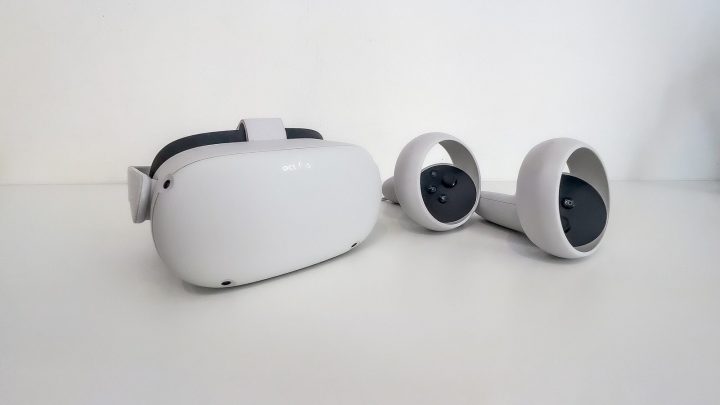
A Quest is a standalone headset: it runs games itself, without a console or PC. For first setup you need:
- The headset and both controllers, from the box.
- A smartphone with the Meta Horizon app installed from the Apple App Store or Google Play. This app was previously called the Oculus app and later the Meta Quest app, so older guides may use those names.
- A Wi-Fi network. The headset needs internet access for its initial updates and to download games.
- A Meta account. You can create one with an email address in the Meta Horizon app; a Facebook account is not required.
- Some clear space, ideally a patch of floor at least 2 by 2 meters if you want to move around while playing.
Meta recommends fully charging the headset before first use, using the included adapter and cable. Setup includes software downloads that can take a while, and starting with a full battery avoids interruptions. If VR is completely new to you, our beginner’s guide to VR gaming explains how headsets and controllers work before you dive in.
Step 1: Power on the headset and controllers
Remove the protective films from the lenses and any paper packing from the strap. Then press and hold the power button on the left side of the headset for about three seconds, until you hear a chime and see the Meta logo.
The controllers ship with paper battery blockers. Pull each paper tab out, then slip the wrist straps over your hands and tighten them. According to Meta’s setup guide, you can turn the controllers on by holding the Menu button on the left controller and the Meta button on the right controller for about two seconds, until a light blinks and you feel a short vibration.
The wrist straps are not optional decoration. In the middle of a game it is easy to open your hand without thinking, and a strapped controller stays attached rather than flying into a wall or TV.
Step 2: Get the fit right
Fit is the single biggest factor in image clarity and comfort, so it is worth taking a few minutes over.
Straps
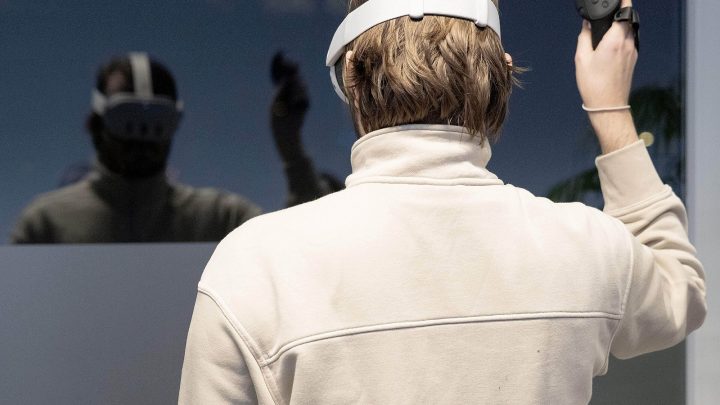
Loosen the side and top straps, then bring the headset to your face first and pull the strap over the back of your head afterward. Move hair out of the way of the face cushion. The back of the strap should sit low on the back of your skull, below the bump rather than on top of it. The top strap should carry a good part of the headset’s weight, so the front is not pressing hard against your cheeks and forehead.
A common beginner instinct is to tighten everything as hard as possible to stop the headset from moving. That usually just creates pressure points. Aim for snug and stable, then fine-tune with the top strap.
Finding the sweet spot
Every VR lens has a “sweet spot” where the image is sharpest. While wearing the headset, hold it with both hands and move it slightly up and down and tilt it until text in the menus looks clearest. On the Quest 3, the headset can also be tilted on its arms for comfort.
Lens spacing (IPD)
The distance between your pupils is called your interpupillary distance, or IPD. Aligning the lenses with your eyes makes a noticeable difference to sharpness and eye comfort.
- Quest 3: Meta’s guide says to use the lens spacing wheel on the bottom left of the headset, adjusting until the visuals are clear and comfortable.
- Quest 3S: the lenses move between a small number of fixed positions. Choose the position that looks sharpest.
Eye relief and glasses
On the Quest 3, you can adjust how far the lenses sit from your eyes (eye relief) using buttons on each side of the facial interface, with the headset off. Moving the lenses closer can widen the field of view; moving them further away makes room for glasses. Quest 3S owners who wear glasses should fit the glasses spacer included in the box, according to Meta’s setup page. In both cases, be careful that glasses do not touch and scratch the lenses.
Step 3: Follow the in-headset setup and pair with your phone
Once the headset is on, the in-headset tutorial asks you to choose a language and connect to Wi-Fi. It then typically downloads a system update. Meta advises keeping the headset connected to a charger during software updates.
Next, pair the headset with the Meta Horizon app on your phone. In the app, Meta’s instructions are to open the menu at the top of the Horizon Feed, tap Devices, then choose the option to pair a new headset or add a device and select your model. Bluetooth and nearby device sharing need to be turned on for your phone. If the option to add a headset does not appear, Meta suggests updating the app, closing it completely and reopening it.
After pairing, Meta notes that you will not need the app every time you use the headset. It remains useful for browsing and buying games, managing settings, setting up family supervision and casting.
Accessibility options
Meta’s setup guide mentions that after the initial update, you can triple-press the Meta button on the right controller to open accessibility settings for vision, mobility and hearing. These can also be changed later in the Settings app, but it is worth knowing they exist from the very start.
Step 4: Set up your boundary
The boundary is the virtual fence that keeps you inside a safe area. When you approach its edge, a grid or wall appears in the headset, and if you step outside it the view switches to passthrough so you can see your real surroundings. The Quest uses its cameras to map the space, and recent software can suggest a boundary automatically, which you can confirm or adjust.
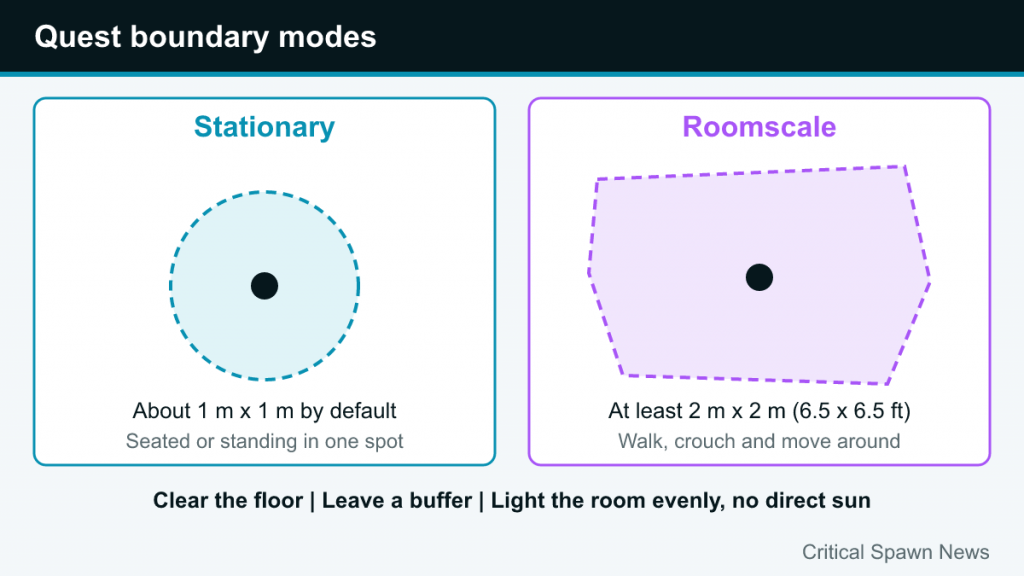
There are two main modes:
| Mode | How it works | Best for |
|---|---|---|
| Stationary | A small circular area centered on you, by default about 1 by 1 meter, adjustable in size | Seated play, small rooms, games where you stay in one spot |
| Roomscale | A custom area you draw or confirm around your clear floor space | Games where you walk, crouch and move around |
Meta recommends at least 2 by 2 meters (roughly 6.5 by 6.5 feet) of clear space for roomscale. If you do not have that, stationary mode is the fallback. Some games ask for more space than the minimum, so check the store listing. You can change mode or redraw your boundary later from Quick controls in the Navigator, under the boundary settings in the environment setup section.
Tips for a good boundary
- Clear the floor of bags, cables, toys and low furniture, and keep pets out of the room.
- Leave a buffer. Draw the boundary a little inside the real obstacles, not right up against them, because arms swing beyond your feet.
- Light the room evenly. Quest tracking relies on cameras, which work best in a well-lit room without direct sunlight. Never leave the lenses facing a window or sunlight, as focused sunlight can damage the displays.
- Watch ceiling fans and lights if you play standing, especially in games where you raise your arms.
Step 5: Install your first games
Games and apps are bought and downloaded through the Meta Horizon Store, either in the headset or from the Meta Horizon app on your phone. Buying on your phone and letting the download start remotely is handy, since the game is ready by the time you put the headset on.
For your first sessions, choose games that are gentle on the stomach: experiences where you stay in one place or move by teleporting rather than by gliding with the thumbstick. Store listings carry comfort information to help with this, and our explainer on VR motion sickness covers why some movement styles cause discomfort and how to build tolerance gradually.
Keep first sessions short, around 15 to 30 minutes, and stop at the first sign of eye strain, nausea or headache.
Step 6: Updates, storage and battery
- Updates: the Quest downloads system updates automatically when it is charging and connected to Wi-Fi. Keeping it updated matters, because some games require recent system software.
- Storage: games vary considerably in size. You can see how much space is left in the headset’s settings and uninstall games you are not playing; purchases stay in your library for reinstalling later.
- Battery: standalone headsets run on an internal battery, so long sessions need either breaks to charge or a strap with an additional battery. Charge the headset after each session so it is ready next time.
Step 7: Cast so others can watch
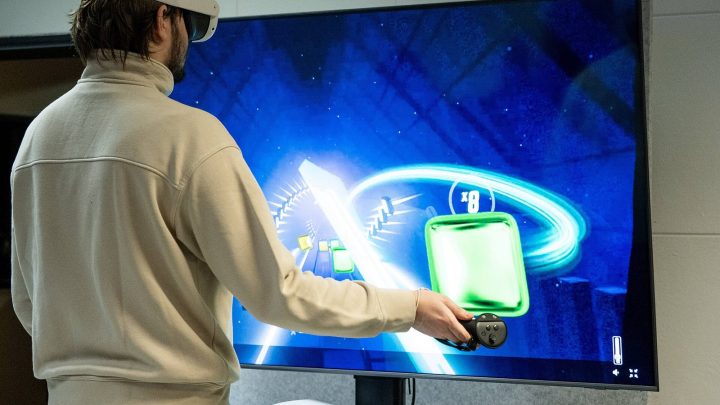
Casting shows what the headset wearer sees on a phone, TV or computer, which is useful for showing friends what is happening and for keeping an eye on younger players. According to Meta’s help pages:
- Make sure the headset and the device you are casting to are on the same Wi-Fi network and, for phones and web browsers, signed into the same Meta account.
- Press the Meta button on the right controller to open the Navigator, select Quick controls, then Cast.
- Choose your phone (through the Meta Horizon app), a web browser, or a nearby compatible device such as a TV with Chromecast.
Meta notes that casting can increase battery use and may reduce performance, and that some networks, such as guest, hotel or office networks, block casting. Using a 5GHz or 6GHz Wi-Fi band rather than 2.4GHz tends to help.
Troubleshooting common first-day problems
- Blurry image: adjust the headset position to find the sweet spot, check the lens spacing, and clean the lenses with a dry microfiber cloth.
- Controllers not tracking: make sure they are switched on and charged, and that the room is well lit. Remove any reflective surfaces close to the play area if tracking jumps.
- Boundary keeps resetting: lighting changes and rearranged furniture can confuse the headset; redraw the boundary if the room has changed.
- Can’t add the headset in the app: update the Meta Horizon app, close it fully and reopen it, and check that Bluetooth is on.
- Discomfort: take the headset off, rest, and come back later with a shorter session and gentler game.
With the fit dialed in, a sensible boundary and a few comfortable first games installed, the Quest is ready for everything from relaxed puzzle games to active, roomscale adventures.